
You can create restricted membership areas in Pixel Perfect and Cheetah. Please review the steps below:
#1 To be able to have your Restricted Area, you need to have a layout exclusive for it and also a separate public layout. That way, your clients will be able to access your Home page without being blocked for not having access to the blocked layout.
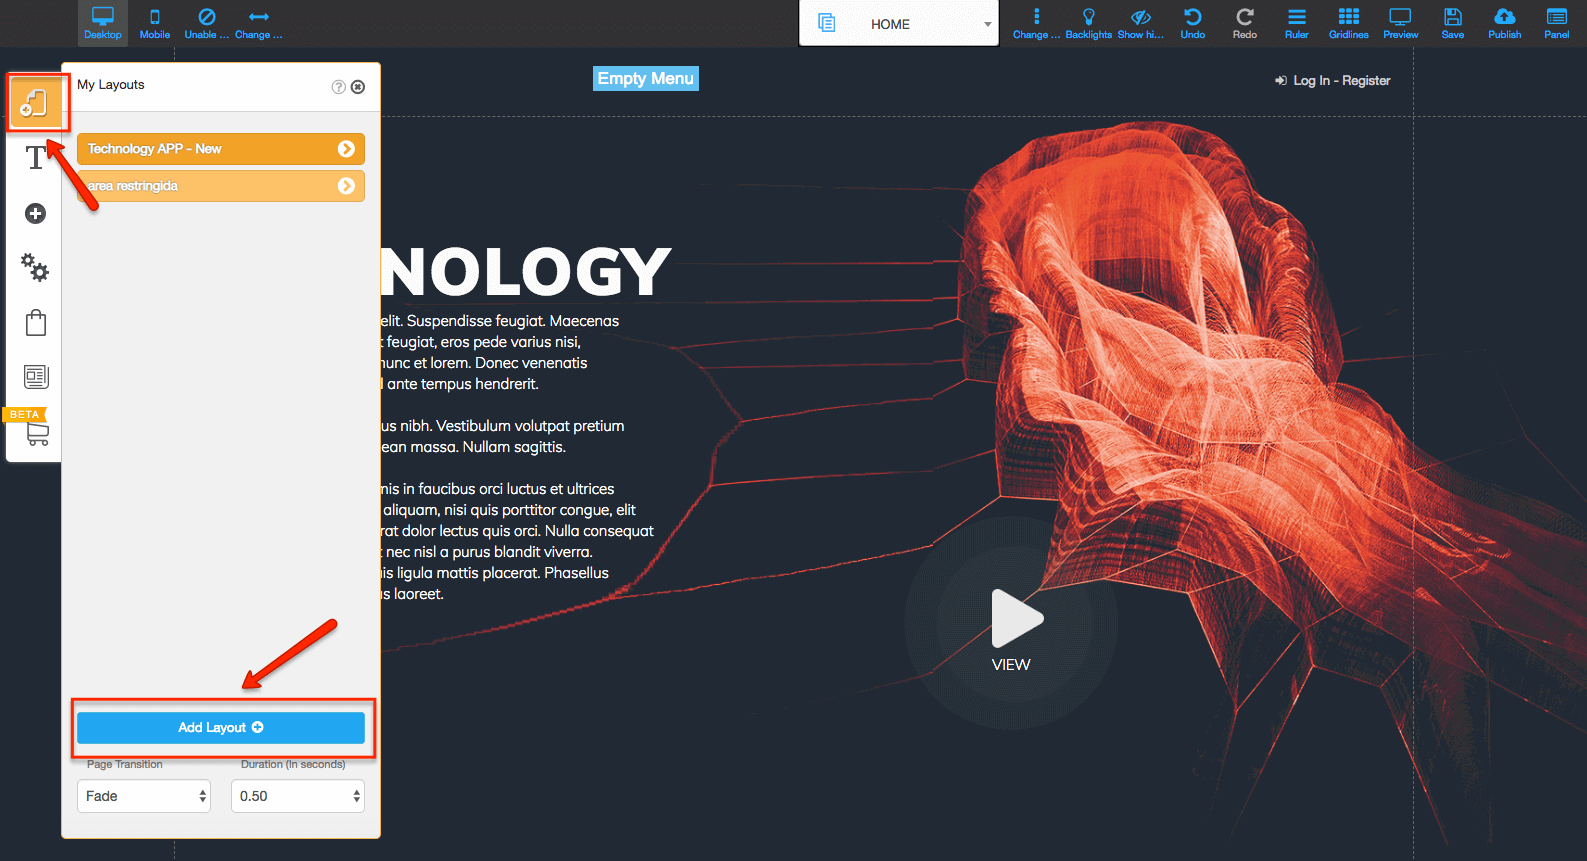
To create a new layout click on the first icon in the top left of your editor and then proceed to click on “Add Layout.”
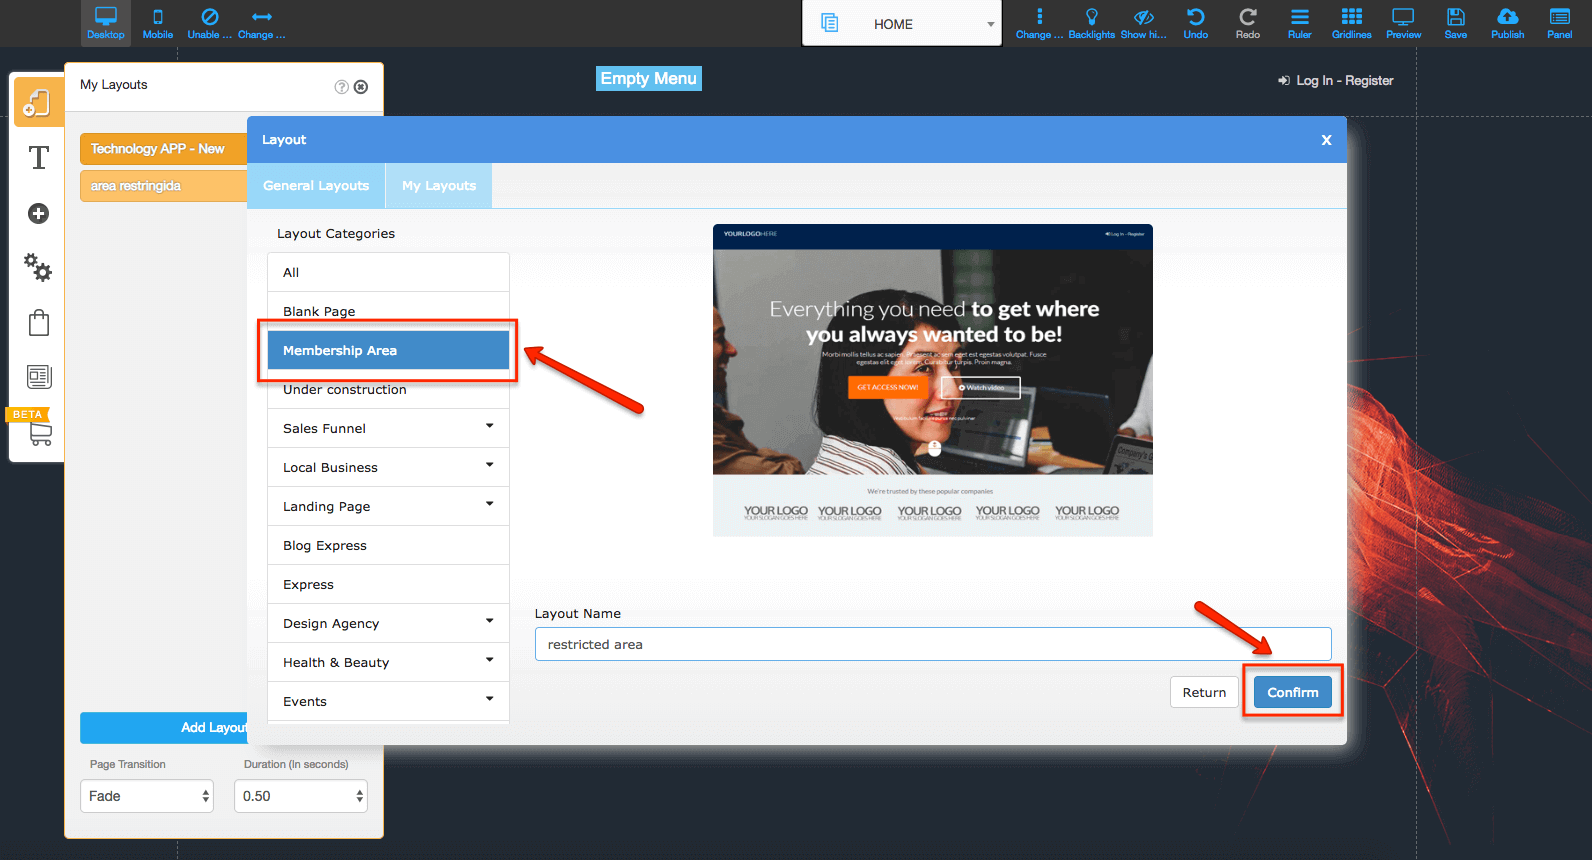
#2 Choose the layout that fits you best, give it a name, and don’t forget to save it.
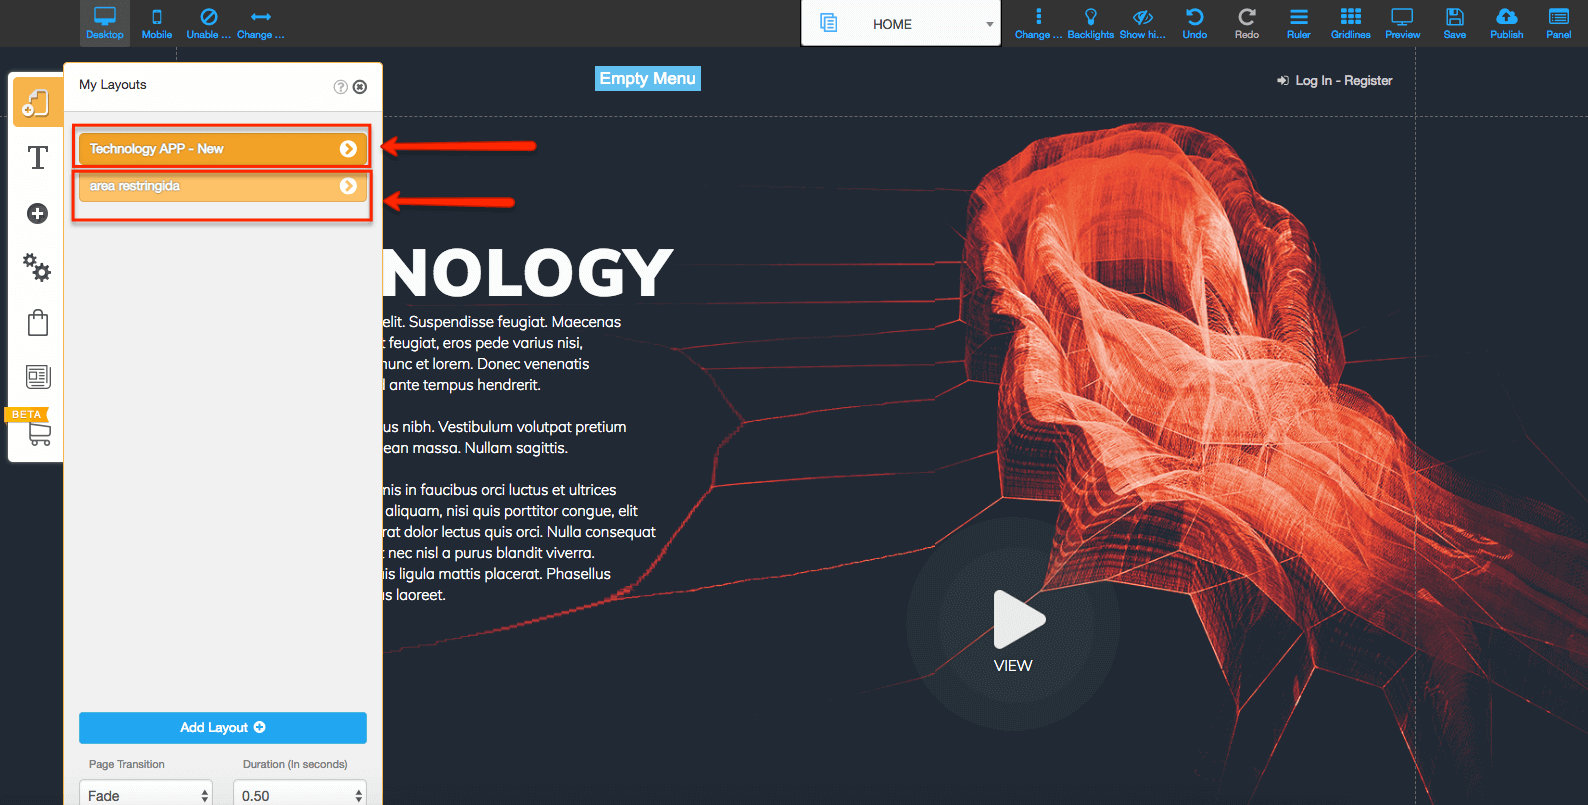
#3 Now you have your new layout created for the Restricted Area and also the public one for the Home page!
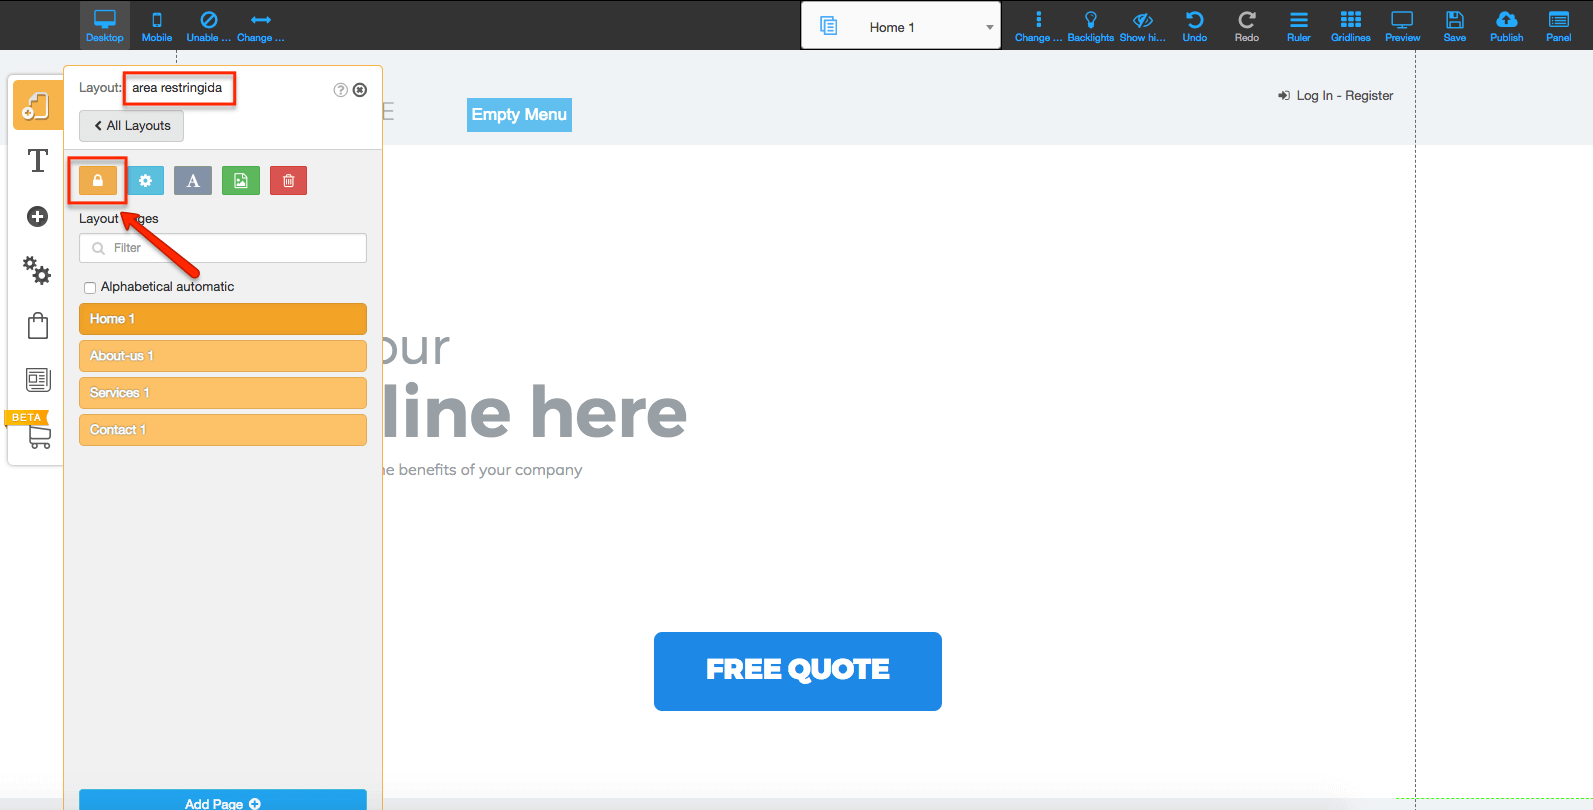
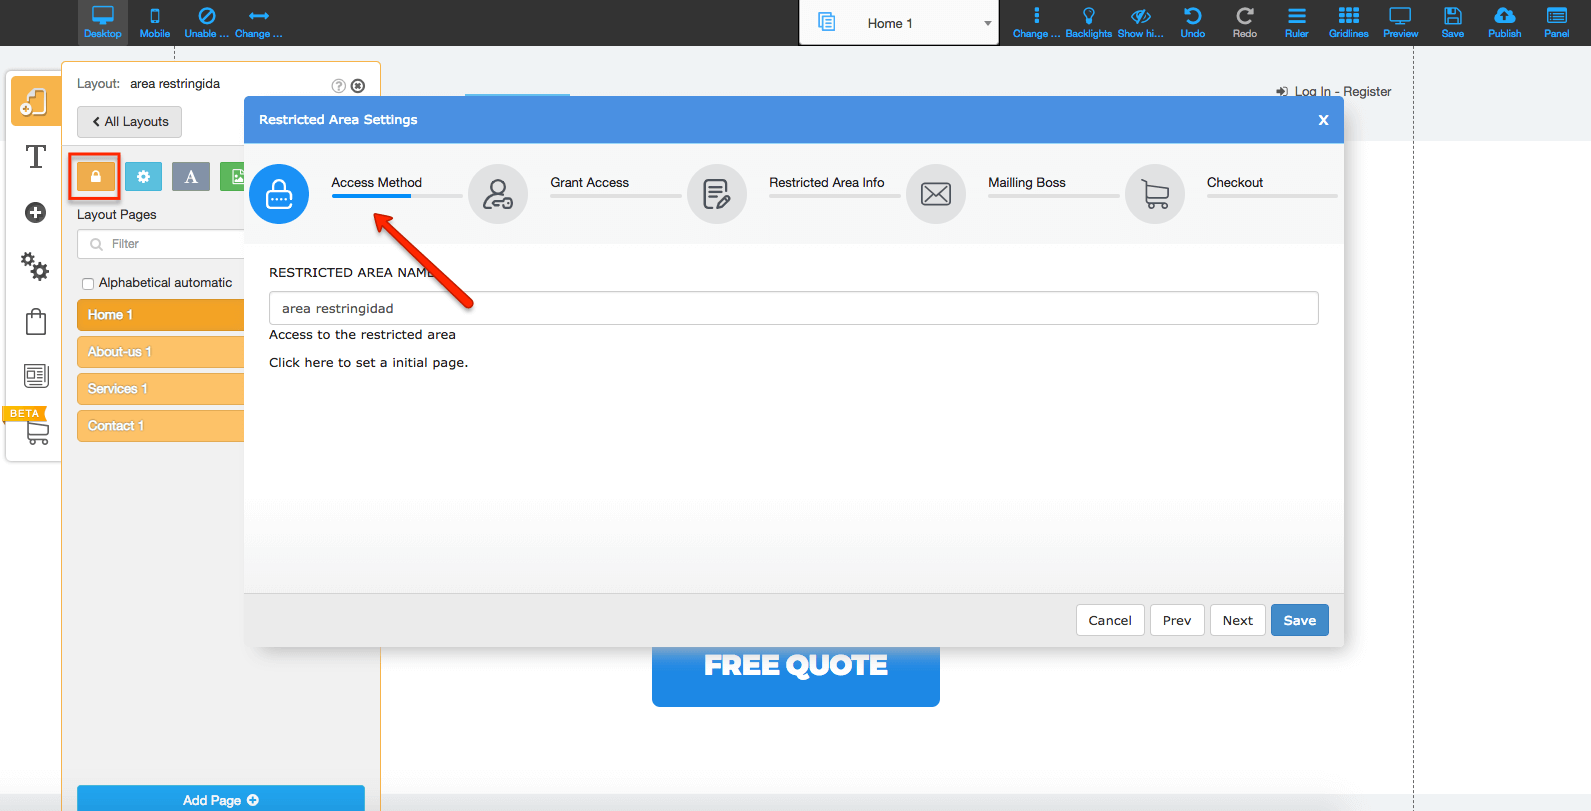
#4 To create the Restricted Area, open the second layout and click on the lock button.
#5 Fill in all the information required according to your needs. The first step is to give your restricted area a name and then click on “next”.
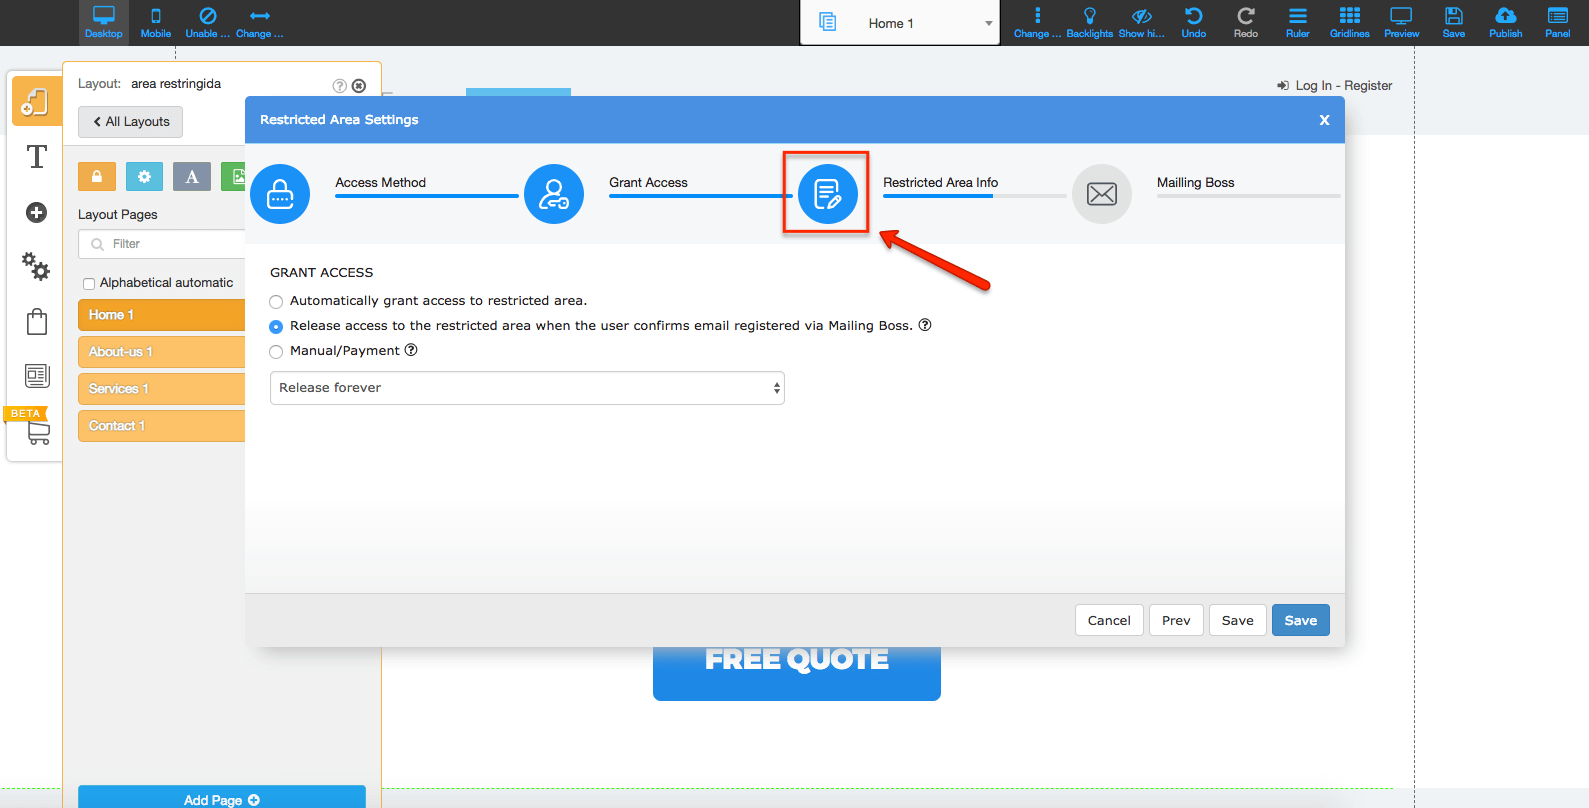
#6 The next step is choosing how you want to grant access to the restricted area. It can be by using an email and password or by using a token.

#7 Now you can choose the action you need to do to have access to the restricted area. It can automatically grant access, ask to confirm the subscription or by making a payment.
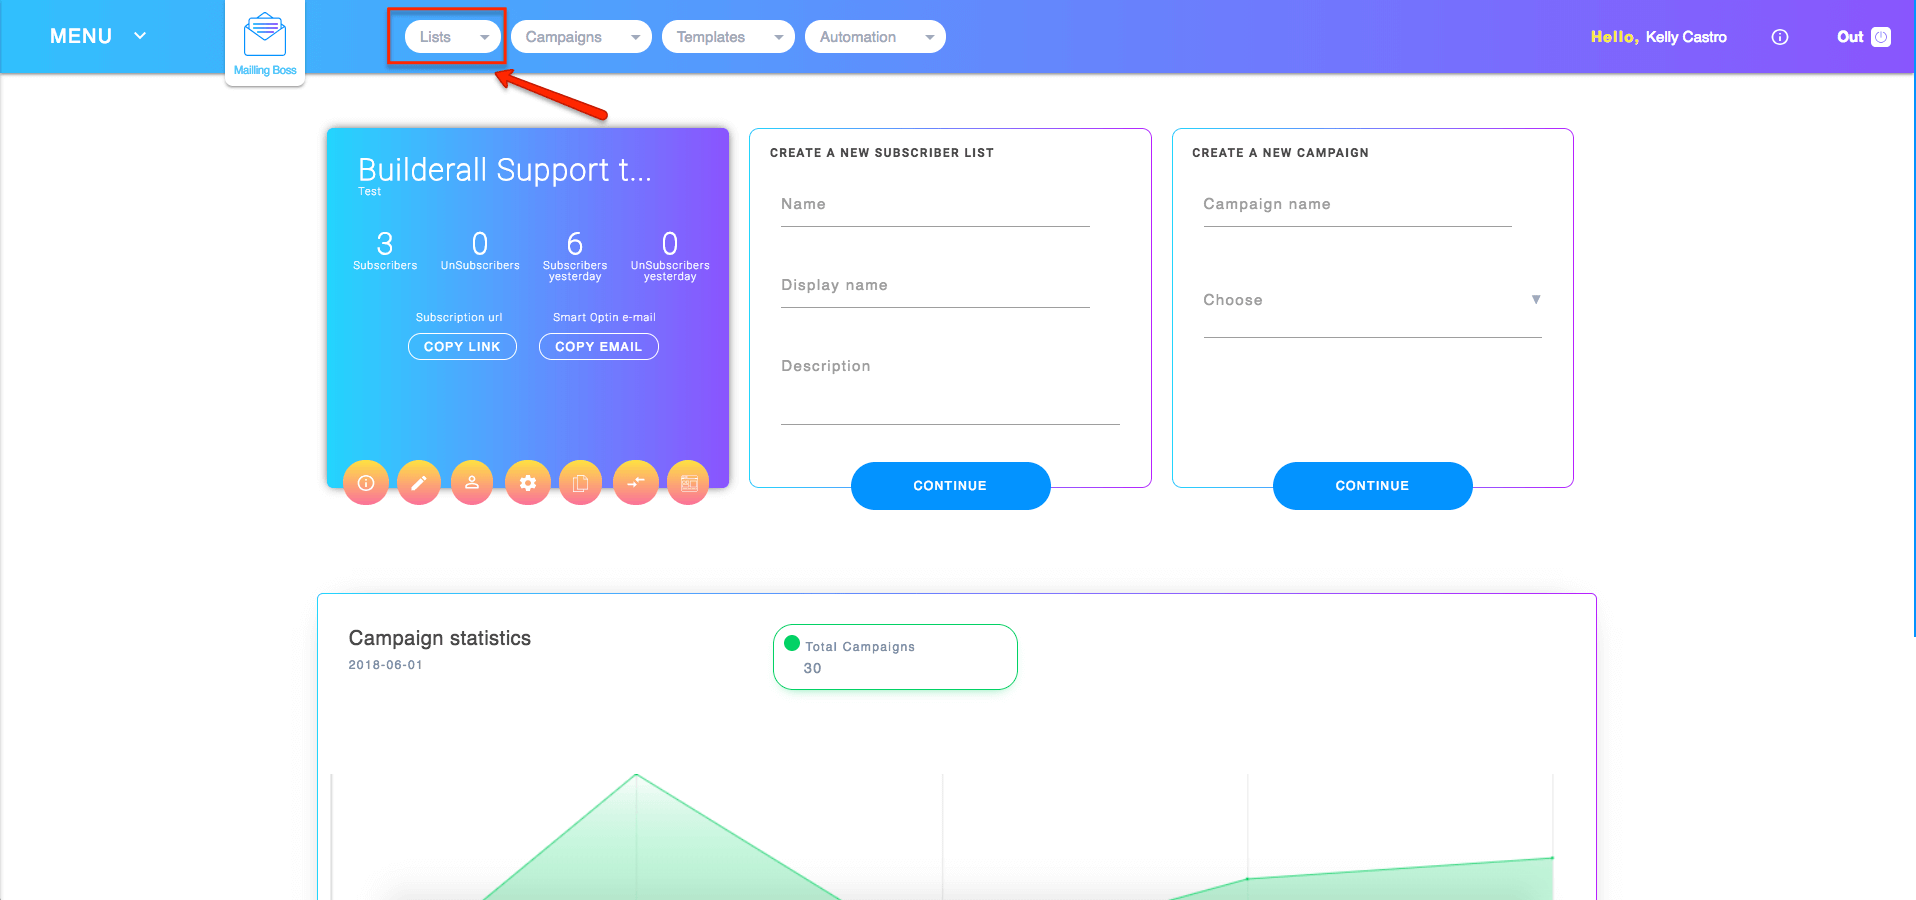
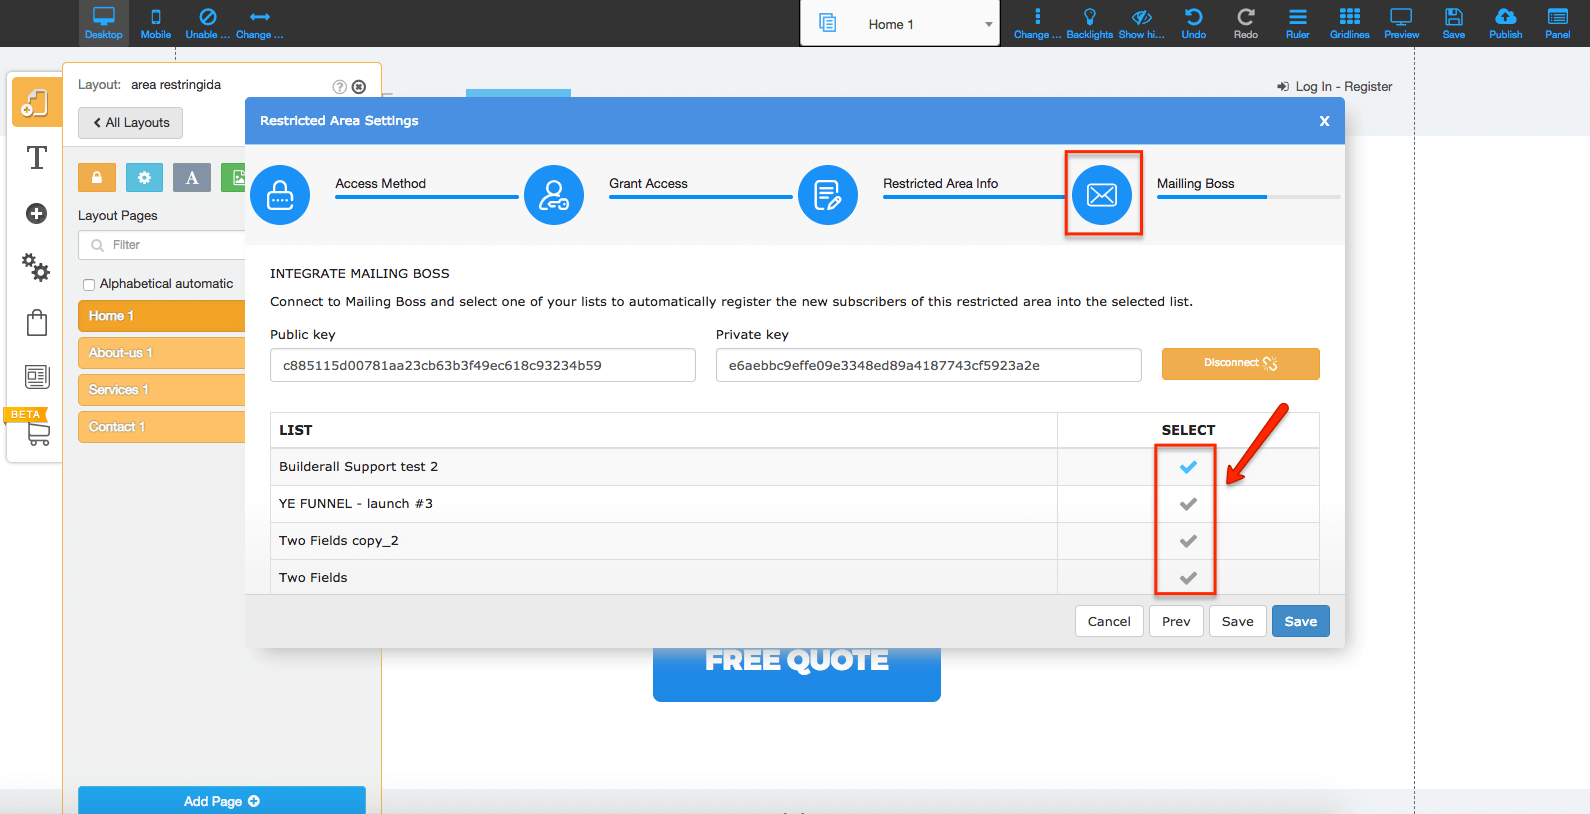
#8 If you choose to integrate the Restricted Area with MailingBoss, make sure that the list chosen is Double opt-in and has the Welcome email set to “yes.”
To verify your list, go to your MailingBoss and click on “My Subscriber’s List.”
#9 Find the list integrated with your Restricted Area and click on the little pencil to edit it.
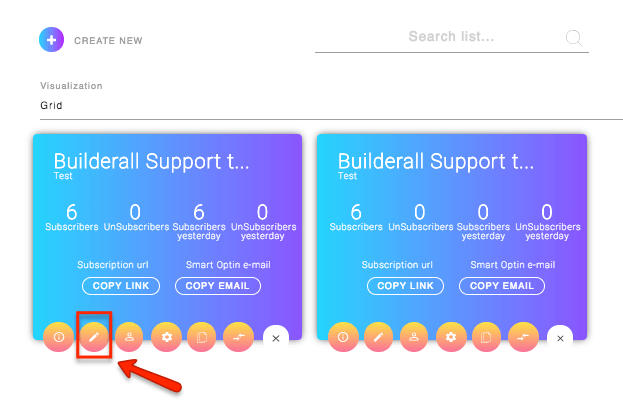
#10 Open the “Advanced” option and verify your “Optin” and “Welcome email.”

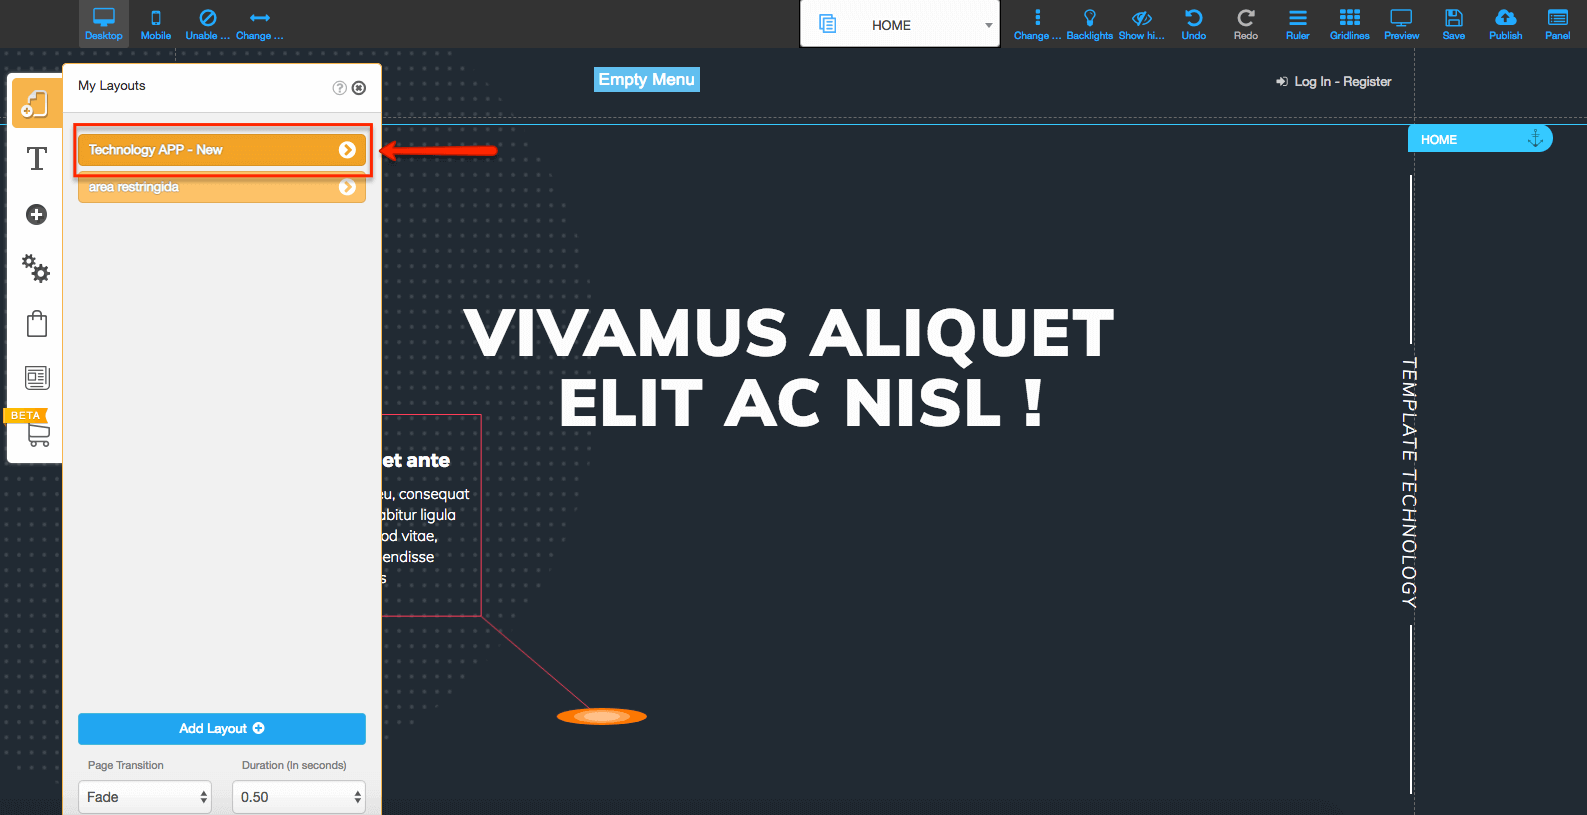
#11 After creating your Restricted Area, go back to the first icon on the top left of your editor and click on the layout created to be blocked and select the Mailing Boss list.
#12 Now select your public layout – the one where your home page will be without the Restricted Area attached to it.
#13 Open your Home page.

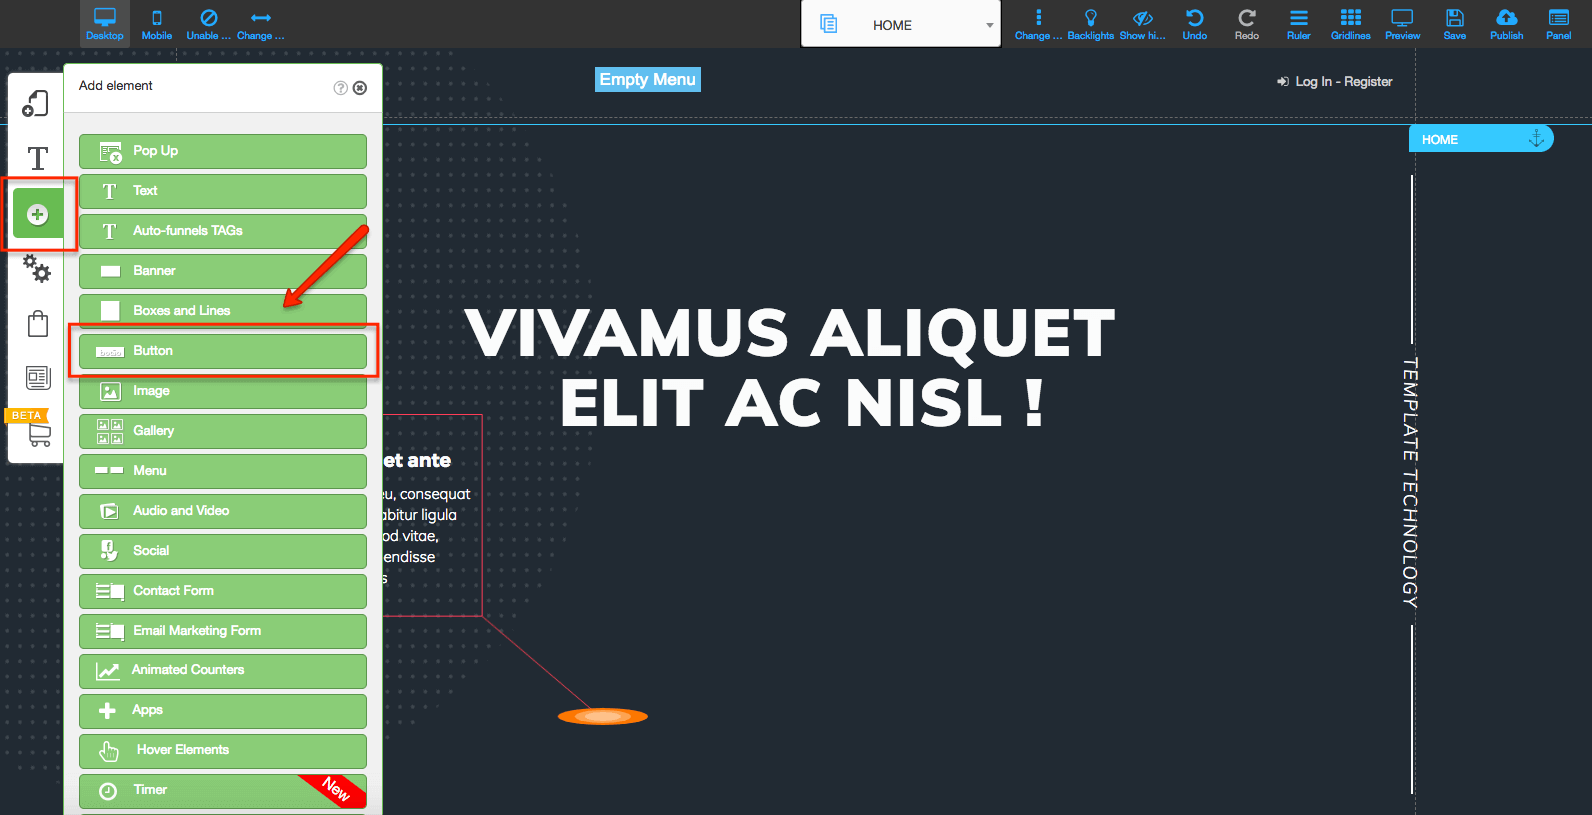
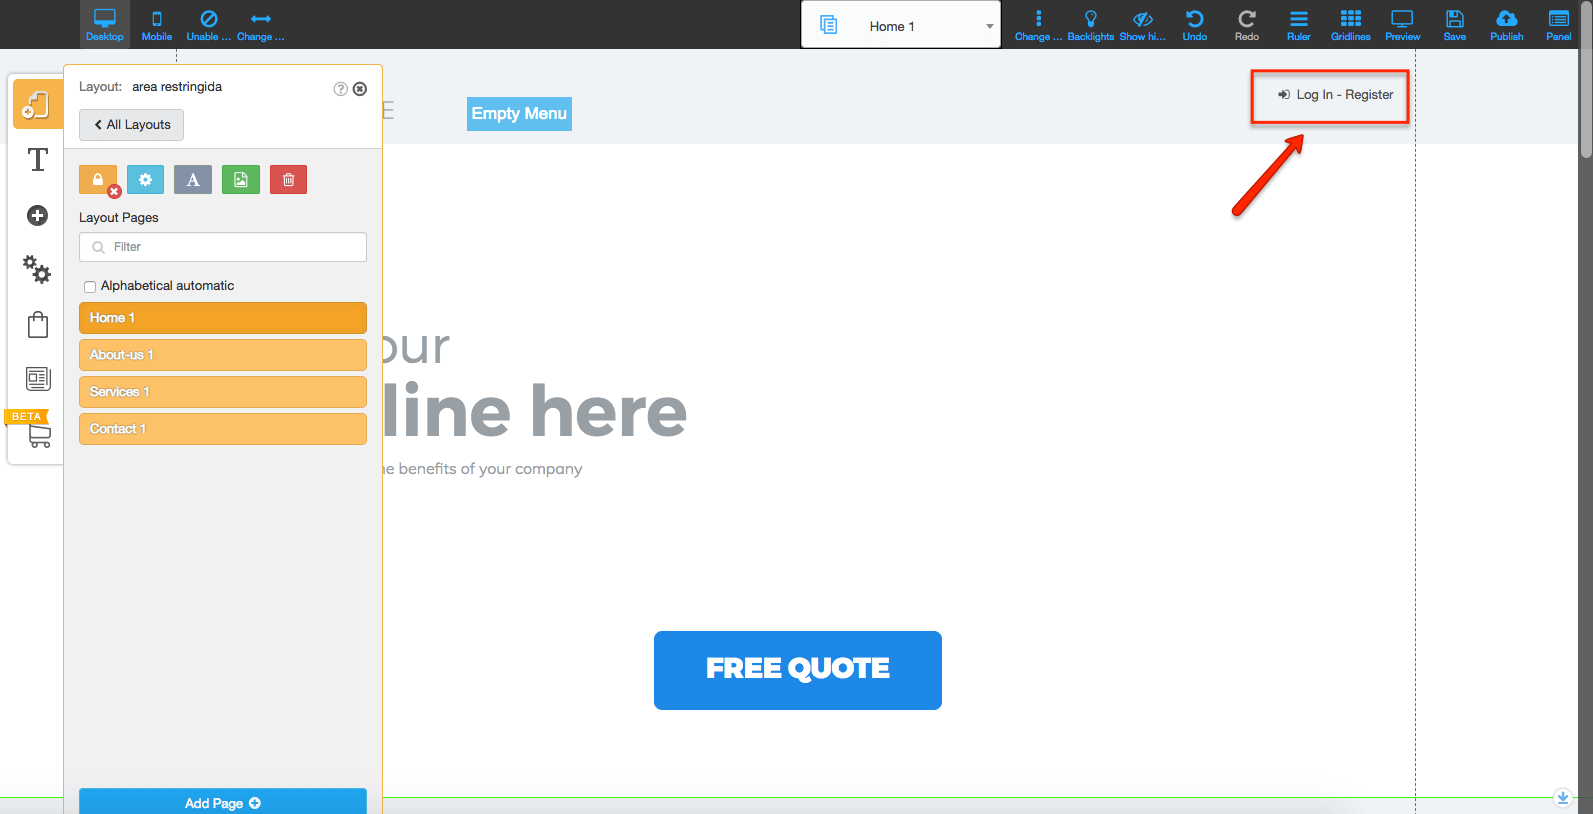
#14 With the Home page opened, go to the + sign on the left side menu and click on the “Button” option.
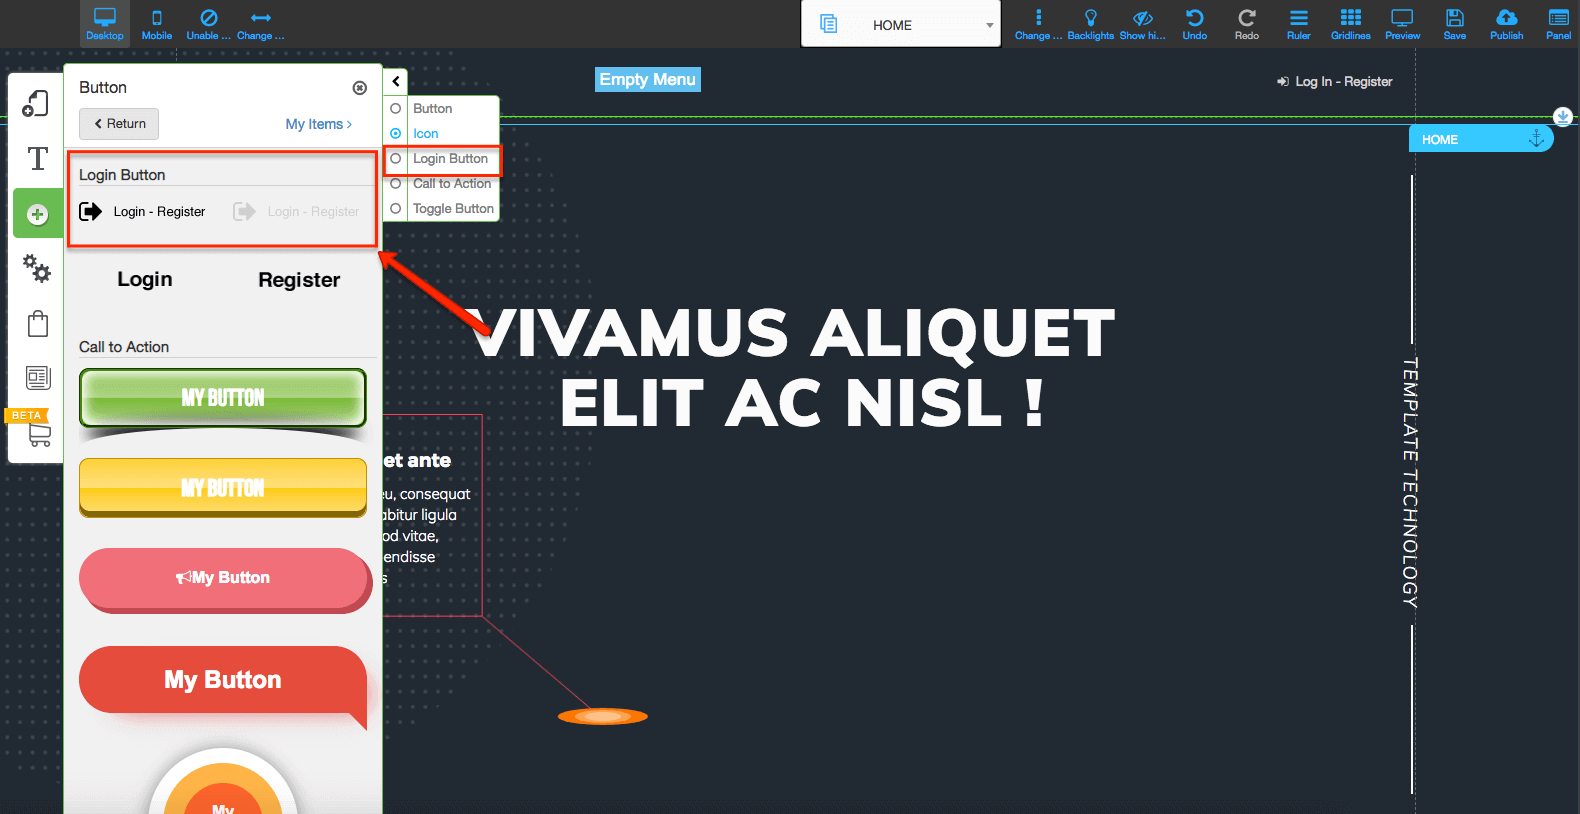
#15 Choose your favorite “Login – Register” button and place it on your Home page.
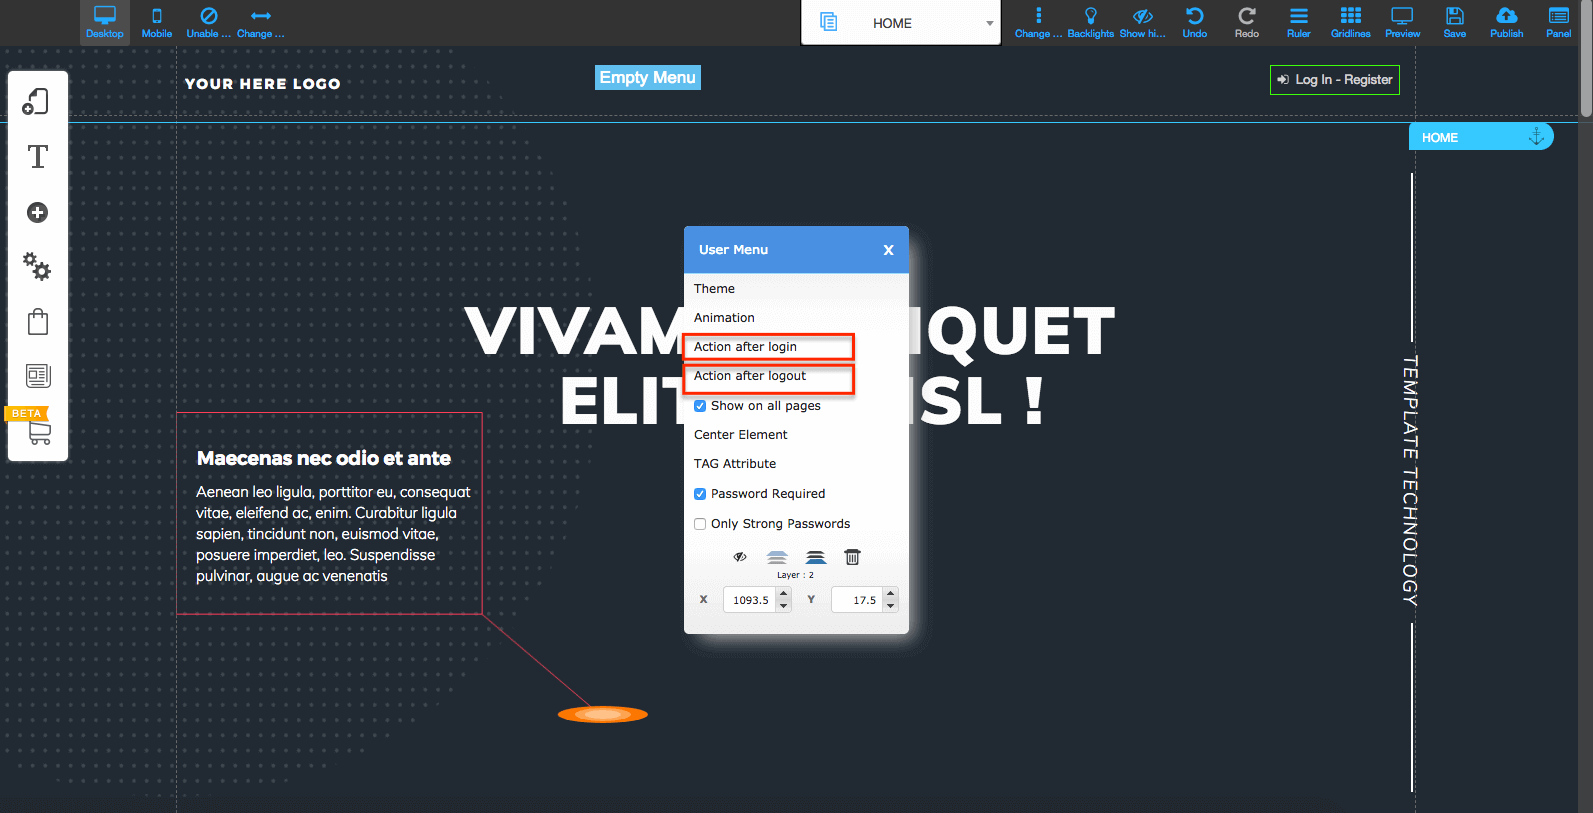
#16 Right click or double click on your new button to be able to edit your “Action after login/logout.”
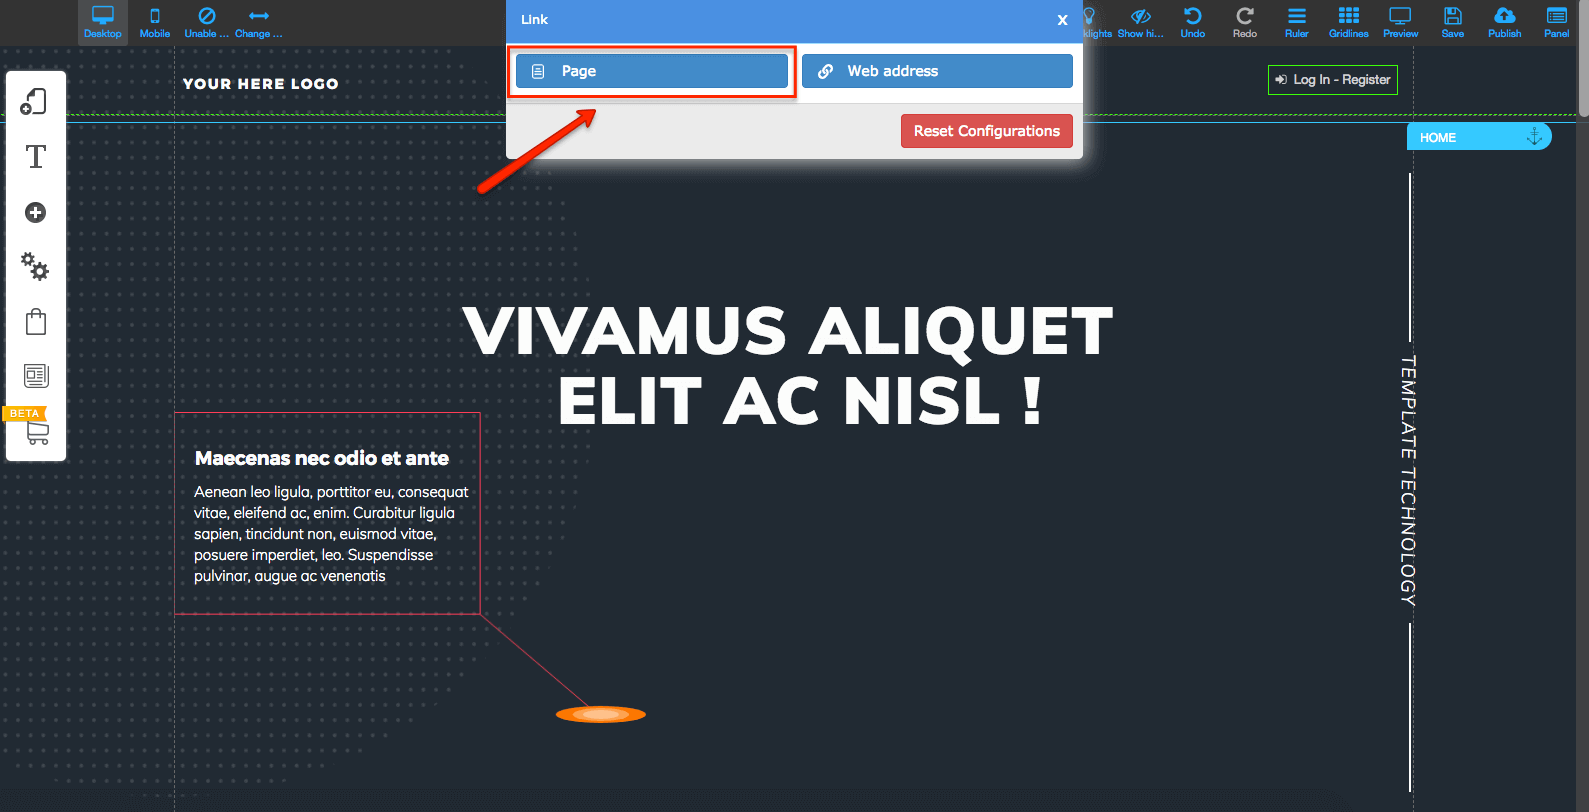
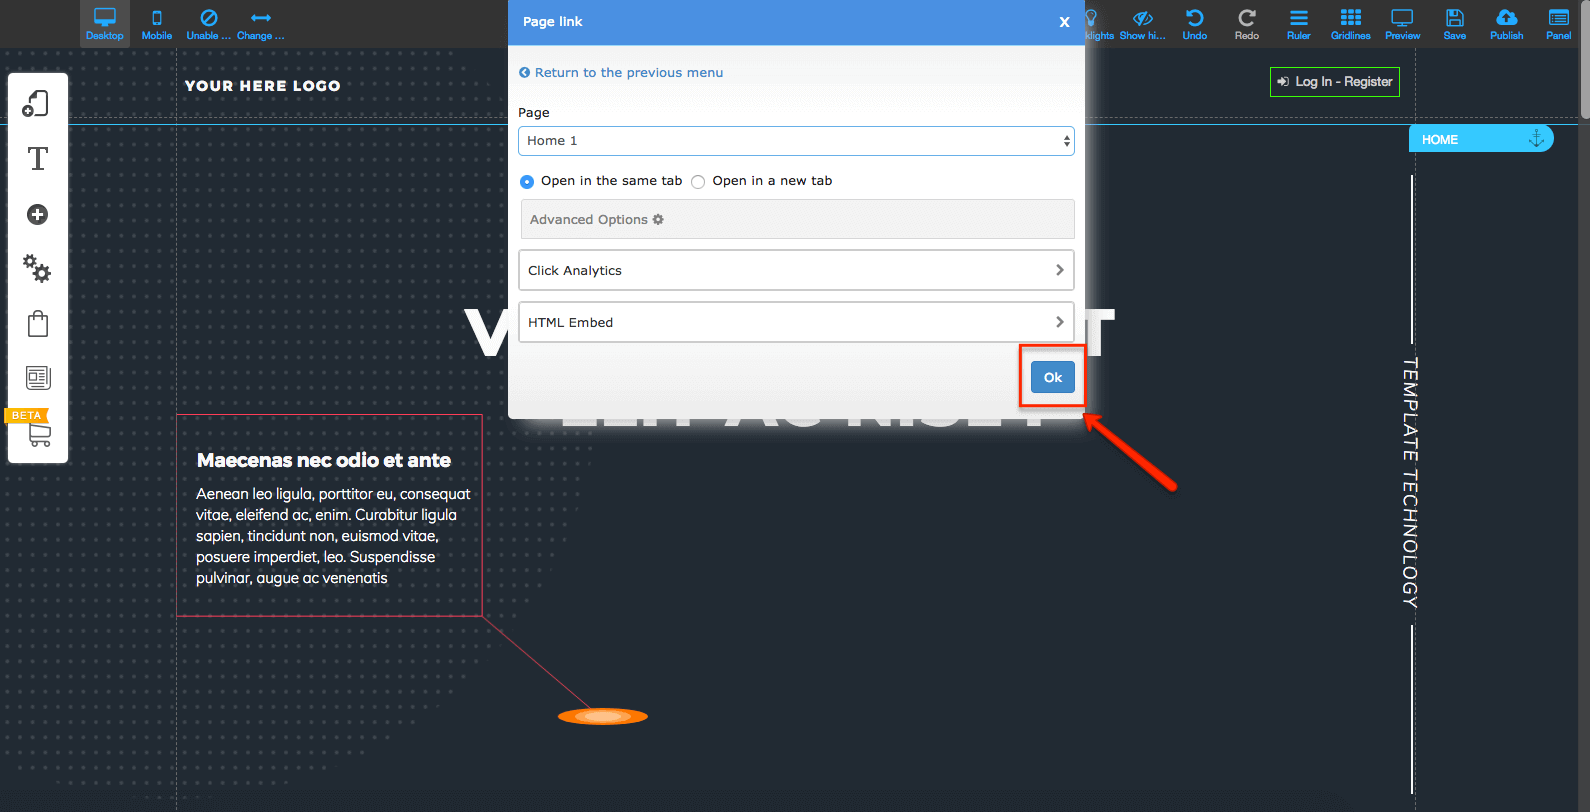
#17 Choose a page from your Restricted Area layout that you would like your visitors to be redirected to.
#18 After selecting the page, click on “Ok.
#19 Proceed to do the steps 12 to 18 once more on every page of the Restricted Layout – or on the layout’s header – so your clients can log out when needed.
#20 Don’t forget to publish your site before testing it!
CHEETAH INSTRUCTIONS COMING SOON!